GUIDE · 04
RHYTHM TIPS
CONTROLS · NOTES · JUDGEMENTS
In Falsus is a 3D vertical-scrolling rhythm game with an unusual demand: one hand plays a 6-key keyboard layout while the other steers a mouse through Field and Flick notes. This guide breaks down every note type, judgement, difficulty, and clear type so the chart stops being noise.
THE CONTROL SCHEME
RHYTHM · 01Charts scroll vertically through a 3D playfield. Inputs are split across two devices, and both are mandatory — this is the first thing that makes In Falsus different from a typical keysmash rhythm game.
KEYBOARD — 6 FLOOR LANES
One hand covers six Floor lanes, defaulting to LShift / A / S / D / F / Space. That layout strains the pinky over long charts, so rebinding to a home-row spread is the most common first tweak.
MOUSE — FIELD & FLICK
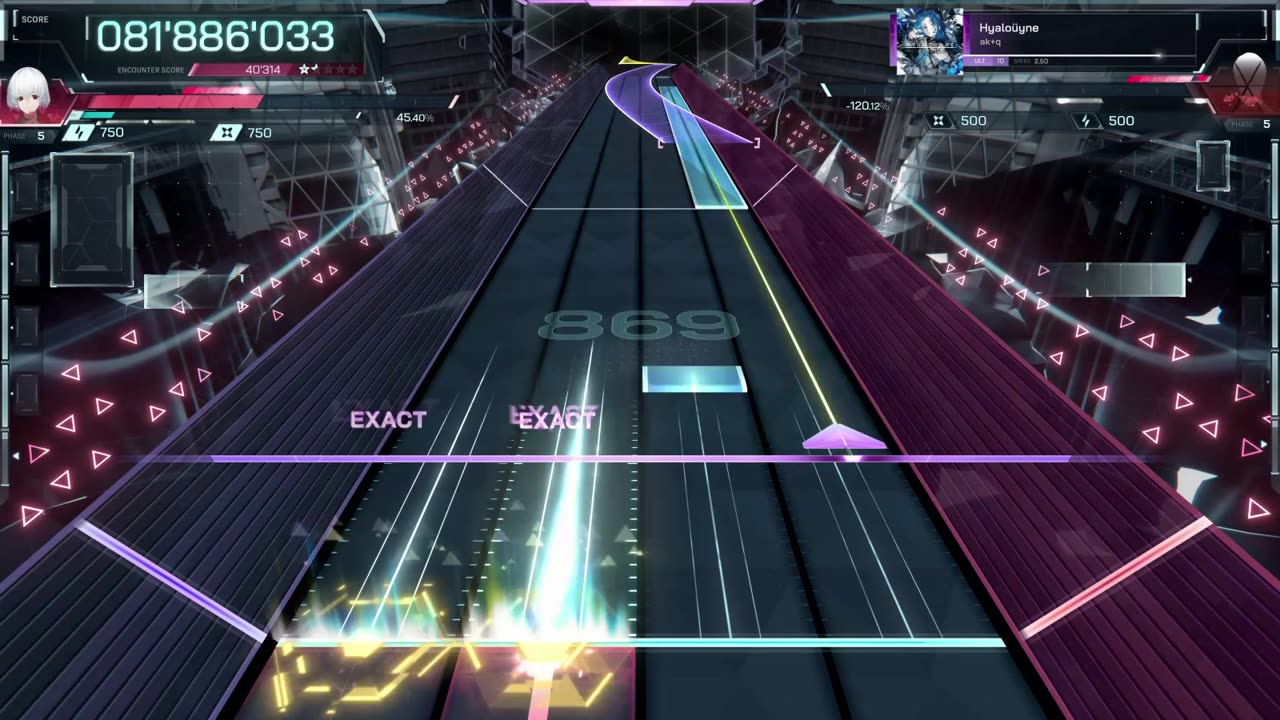
The mouse handles everything spatial: holding the cursor inside Field regions and swiping directional Flicks. On FBD difficulty it also covers full-width notes the keyboard cannot reach.
The skill ceiling of In Falsus is not raw speed — it is doing both of these at once without either hand stealing attention from the other. Practice them separately, then together.
Want to tune the layout to your hands? Rebinding is expected in this genre — the keybinds guide covers remapping, ergonomic setups, and why some keys stop registering on cheap keyboards. → In Falsus keybinds guide
NOTE TYPES
RHYTHM · 02Four note types make up every chart. Two belong to the keyboard, two belong to the mouse.
TAP
The basic unit. Press the lane key as the note crosses the judgement line. Everything else in the game is measured against your Tap accuracy.
HOLD
Press the head on time and keep the key down until the tail ends. There is no release timing — holding too long is never punished, so Holds are free EXACTs and a moment to reset your hand.
FIELD
A mouse note: keep the cursor inside the marked region, which stays purple while you are in and turns red when you stray. Stay outside too long and a brief input dead state kicks in — your hits stop registering until you recover.
FLICK
A directional mouse swipe. Yellow means flick left, green means flick right, and the swipe only needs to overlap the note's horizontal span — it does not have to cover the full length.
WIDE NOTES — full-width notes appear only on FBD difficulty and are mouse-only. They are the signature wall of Forbidden charts.
JUDGEMENT & COMBO
RHYTHM · 03Every note receives one of these judgements. Learn to read the LATE/EARLY suffixes — they are a built-in timing coach.
Grade thresholds
| Grade | Score |
|---|---|
| EX+ | ≥ 99M |
| EX | ≥ 98M |
| AA | ≥ 95M |
| A | ≥ 92M |
| B | ≥ 85M |
| C | ≥ 80M |
| D | < 80M |
Resonance gauge
EXACT hits fill the Resonance gauge. When it fills, your hits crit for ×5 damage for the rest of the current Phase — then the gauge resets as the next Phase begins. In encounters, this is your single biggest damage spike, so protect your accuracy through the dense back half of each Phase.
THE DIFFICULTY LADDER
RHYTHM · 04Four difficulties, and each one changes the rules of your hand — not just the note count.
MIN — MINIMAL
4K with static finger positions. Four lanes, no shifting. The teaching difficulty — learn the game here.
EVO — EVOLVED
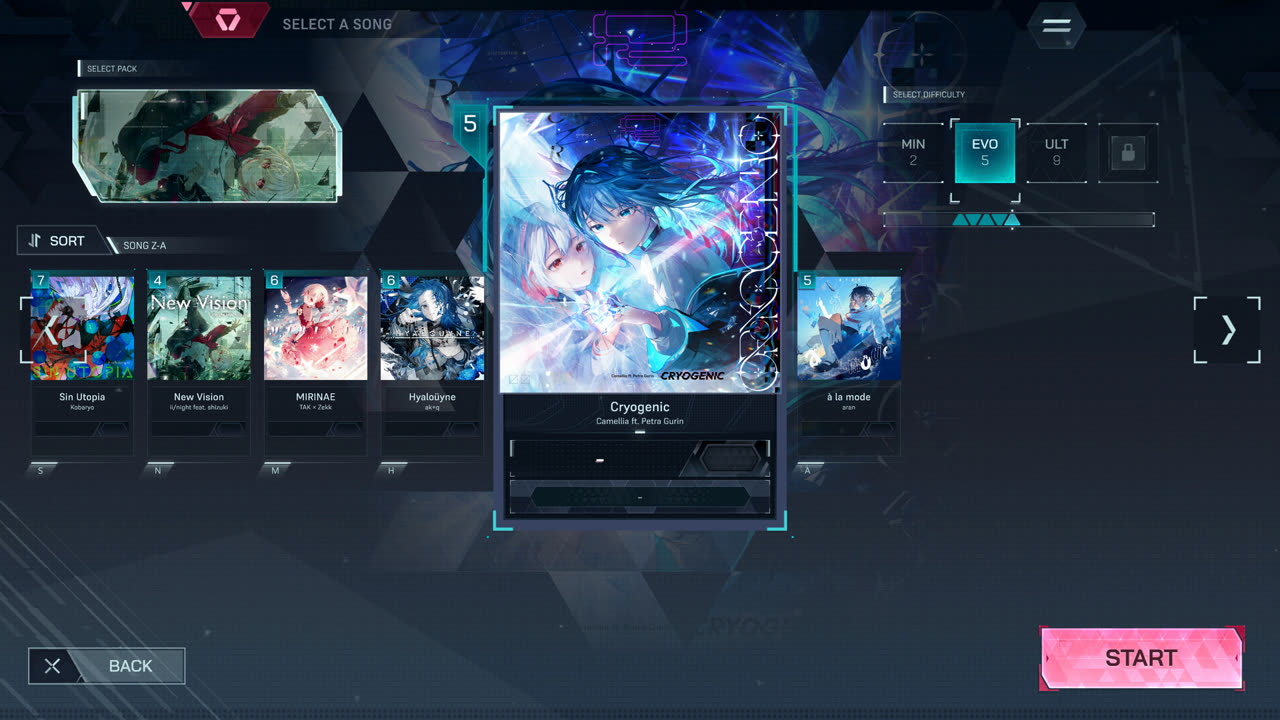
5K where the active lanes shift mid-chart. Your hand must relocate without looking. The bridge between learning and playing.
ULT — ULTIMATE
The full 6K layout. All six Floor lanes live at once, demanding real one-hand independence.
FBD — FORBIDDEN
6K plus wide, full-width notes that only the mouse can clear. The peak of the demo — à la mode FBD 11 is the current ceiling.
Move up when your current difficulty feels readable, not when it feels easy: MIN until judgements are consistent, EVO until lane shifts stop surprising you, ULT until six lanes feel like home. FBD is a final exam, not a classroom.
CLEAR TYPES
RHYTHM · 05Finishing a chart is not binary — In Falsus grades how you survived it.
PERFECT DIVE
Every note EXACT. The ultimate clear — no NEARs, no BREAKs, nothing but shiny.
FULL LINK
No BREAKs, with at least one NEAR. The practical target for encounter farming — it qualifies for Iota drops.
DIVE CLEARED
Finished with HP at 0 or above despite BREAKs. Still counts for Iota drops when the encounter is Connected.
DIVE FAILED
HP dropped below 0. No clear, no drops — regardless of how far into the chart you got.
Farming rule of thumb: Dive Clear or better + Encounter Connected = Iota. Anything less pays nothing.
PRACTICE ROUTINE
RHYTHM · 06A five-step routine built from the demo's six songs. Repeat each step until it feels boring — boredom is readiness.
- 1
guides.rhythm.s6.step1_title
Ghost Ray, Ordirehv, and à la mode (all MIN 1). Focus on clean EXACT judgements and a relaxed rebind-friendly hand position.
- 2
guides.rhythm.s6.step2_title
Cryogenic (MIN 2), Hyaloüyne and Deep Into The Vibe (MIN 3). Start watching the LATE/EARLY flags and correct your timing bias.
- 3
guides.rhythm.s6.step3_title
Ghost Ray and Ordirehv (EVO 4), then à la mode (EVO 5). Keep your eyes on the chart, not your hand — the shifts are telegraphed.
- 4
guides.rhythm.s6.step4_title
Ghost Ray and Ordirehv (ULT 8), Cryogenic and à la mode (ULT 9), Hyaloüyne and Deep Into The Vibe (ULT 10). This is where Resonance timing starts paying real damage.
- 5
guides.rhythm.s6.step5_title
Ghost Ray 10 and Ordirehv 10 first — then à la mode 11, the demo's final wall. Expect the wide notes, not just the density, to end your early runs.
Song levels and unlock order are in the demo guide. → Demo Guide